6 Easy Screenshot Ways on PC/Laptop When on Desktop and Playing Games
Capturing a moment in a video game or just making a tutorial certainly requires a visual display in the form of an image which we generally call a screenshot. By using screenshots, you will be able to show off beautiful, epic moments, or teach people to do things like crop pictures on the Adobe Photoshop and so forth.
We are now officially on the platform Tiktok! Follow our Tiktok account at @gamebrott.com to find various information and our other interesting video content.
There are various conventional ways to capture the moment. Starting from using the most basic method, to the default of several applications that are one package with your hardware. But not infrequently, many people don’t know it and only understand the most basic way of taking screenshots. Especially when playing video games.
This time I will teach you six easy and practical ways to take screenshots on your PC/Laptop both when viewing the desktop and playing video games.
6. Screenshot of Everything on the Screen
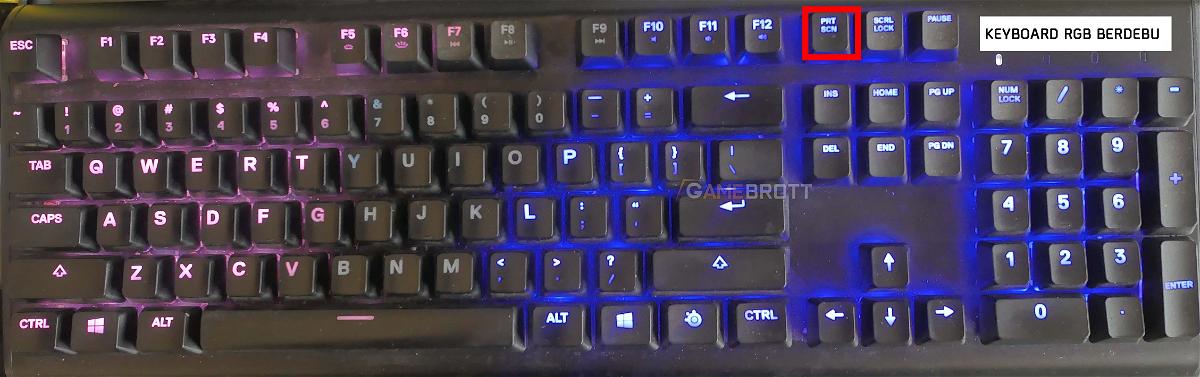
The first way is super basic, those of you who don’t really have any knowledge can open any page you want to capture. Then press the Print Screen button as shown by the image above.
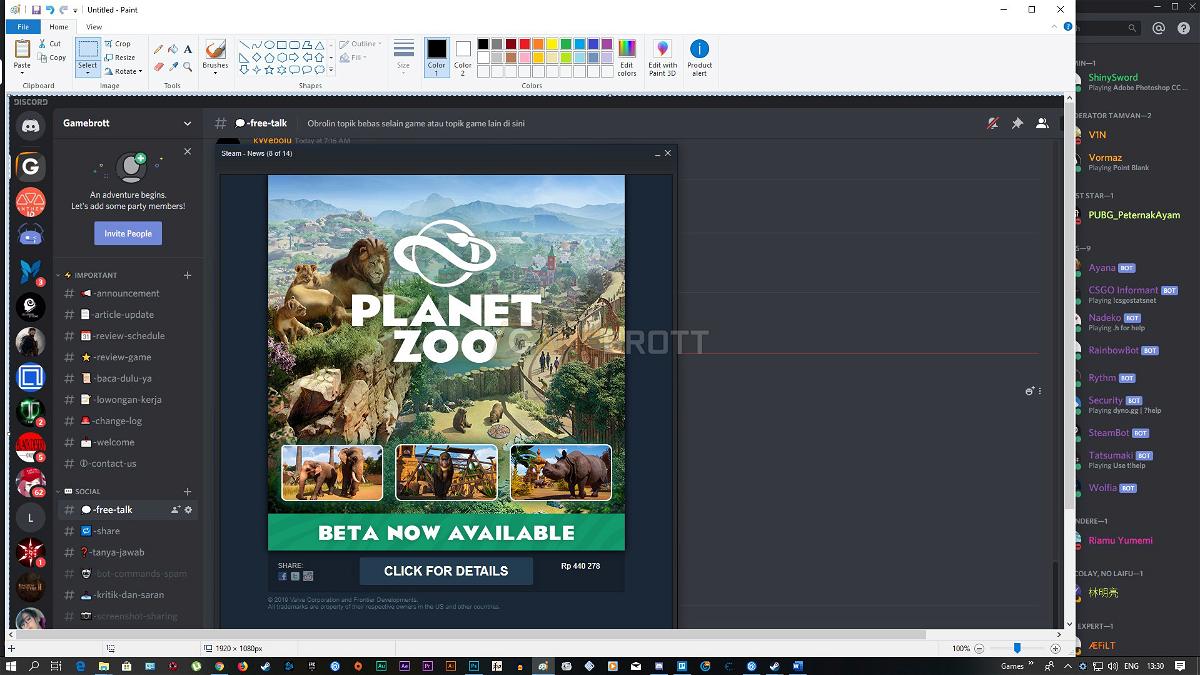
The second step is to open Paint and paste by pressing Ctrl + V. Then save it according to the desired format. Whether it’s a JPG, BMP, or maybe a GIF.
5. Screenshot of Specific Pages
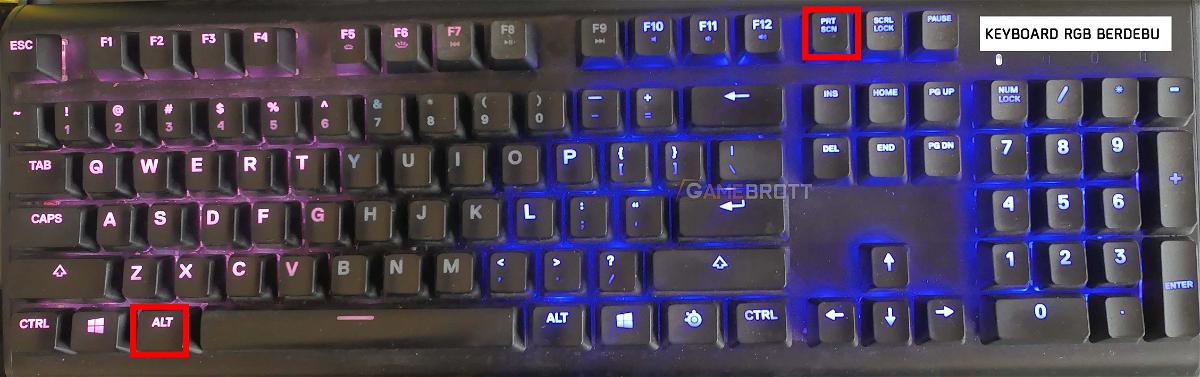
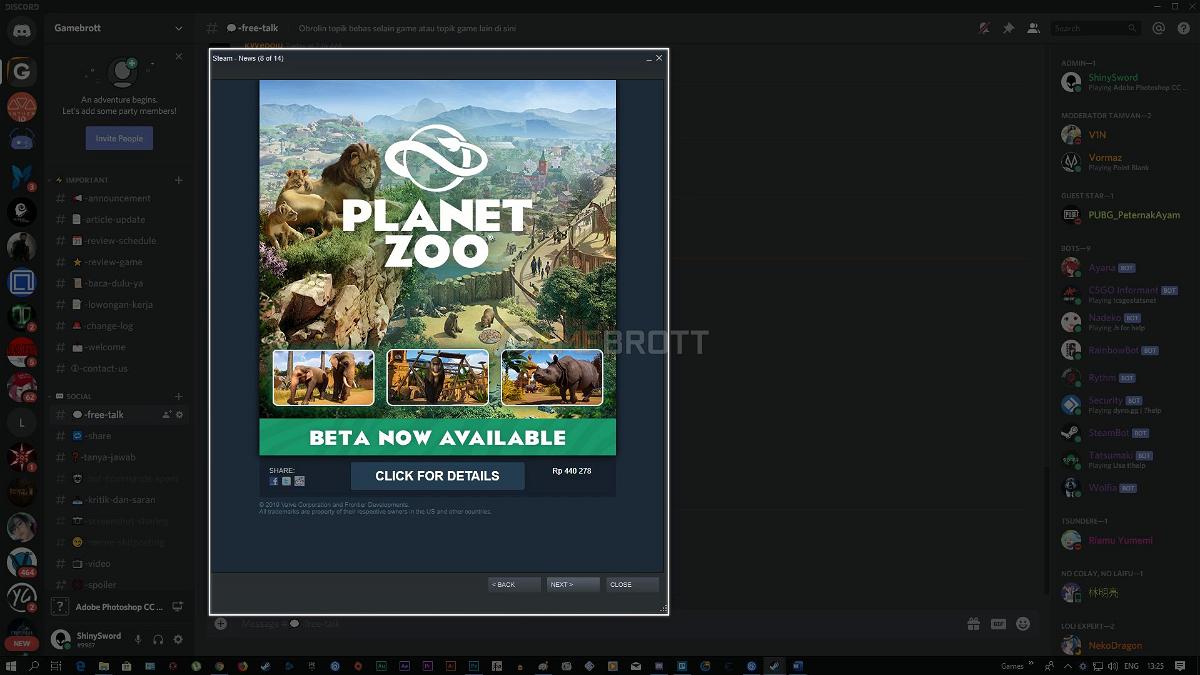
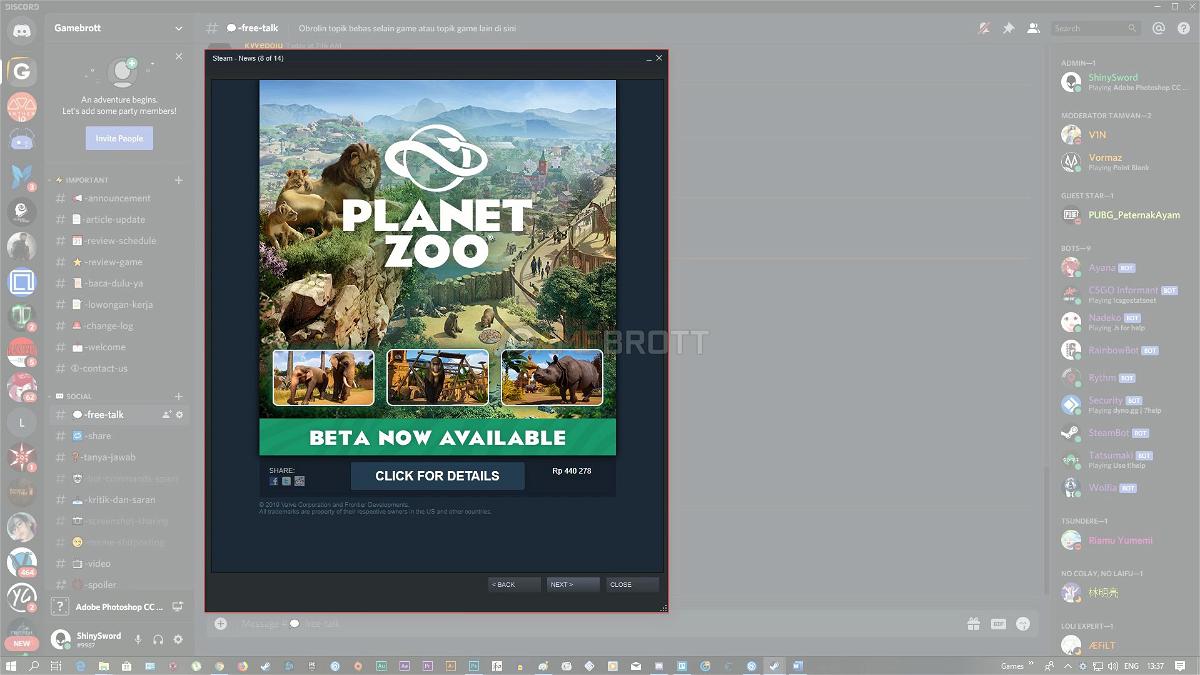
For those of you who don’t want to be complicated, you have to cut the screen that you want to screenshot, for example like the Steam screen in the image above. There is an even more practical way. You just need to first click the page you want to screenshot, then press Alt+Print Screen as shown in the image above.

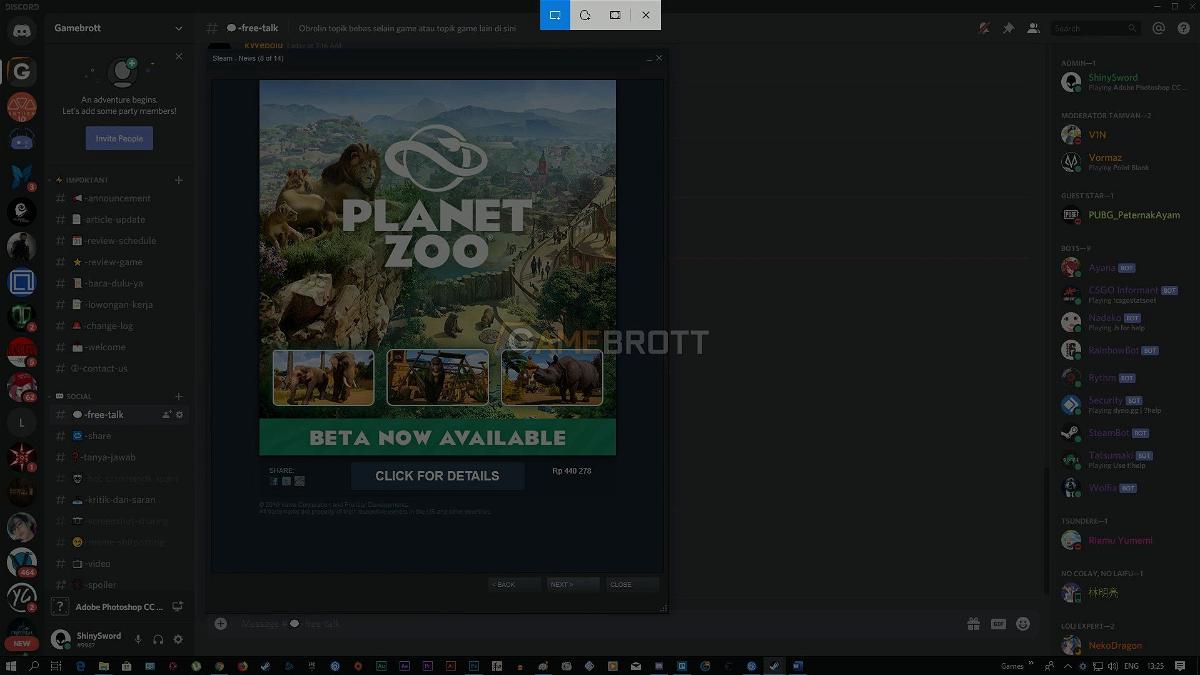
While the second step is the same as the first step, which is to open paint and then press the Ctrl + V key. Then only the Steam page will be captured. Practical isn’t it?
4. Screenshot of certain areas only
Well, the next method is a change from the previous method which is divided into two ways. But the basics remain the same, namely the default Windows application.
Method 1 – Windows 10
The first way is to use an application called Snip & Sketch if you are using Windows 10. Different from the previous method which directly captures certain pages, this method is more manual.
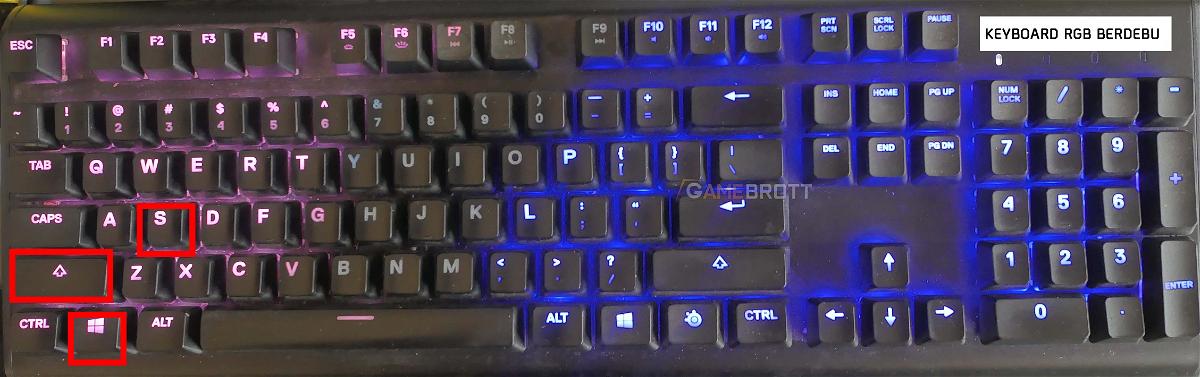
The trick is to press the Windows key + Shift + S then click and drag your mouse pointer to the area you want to capture the screenshot as shown above.
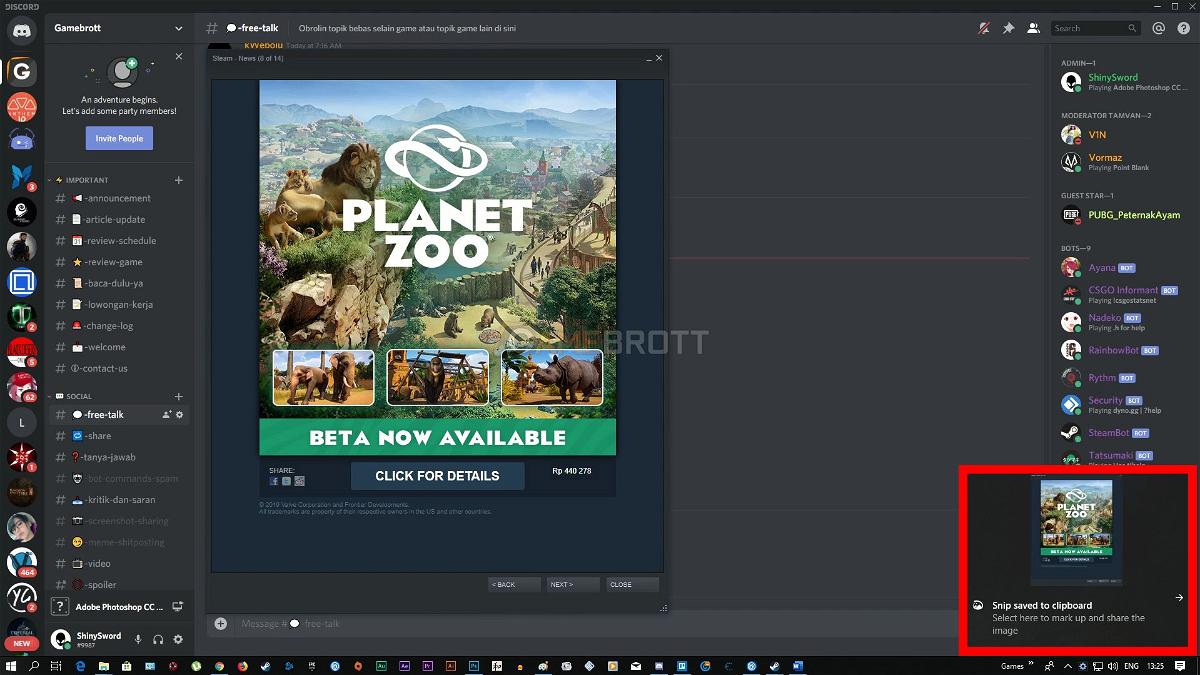
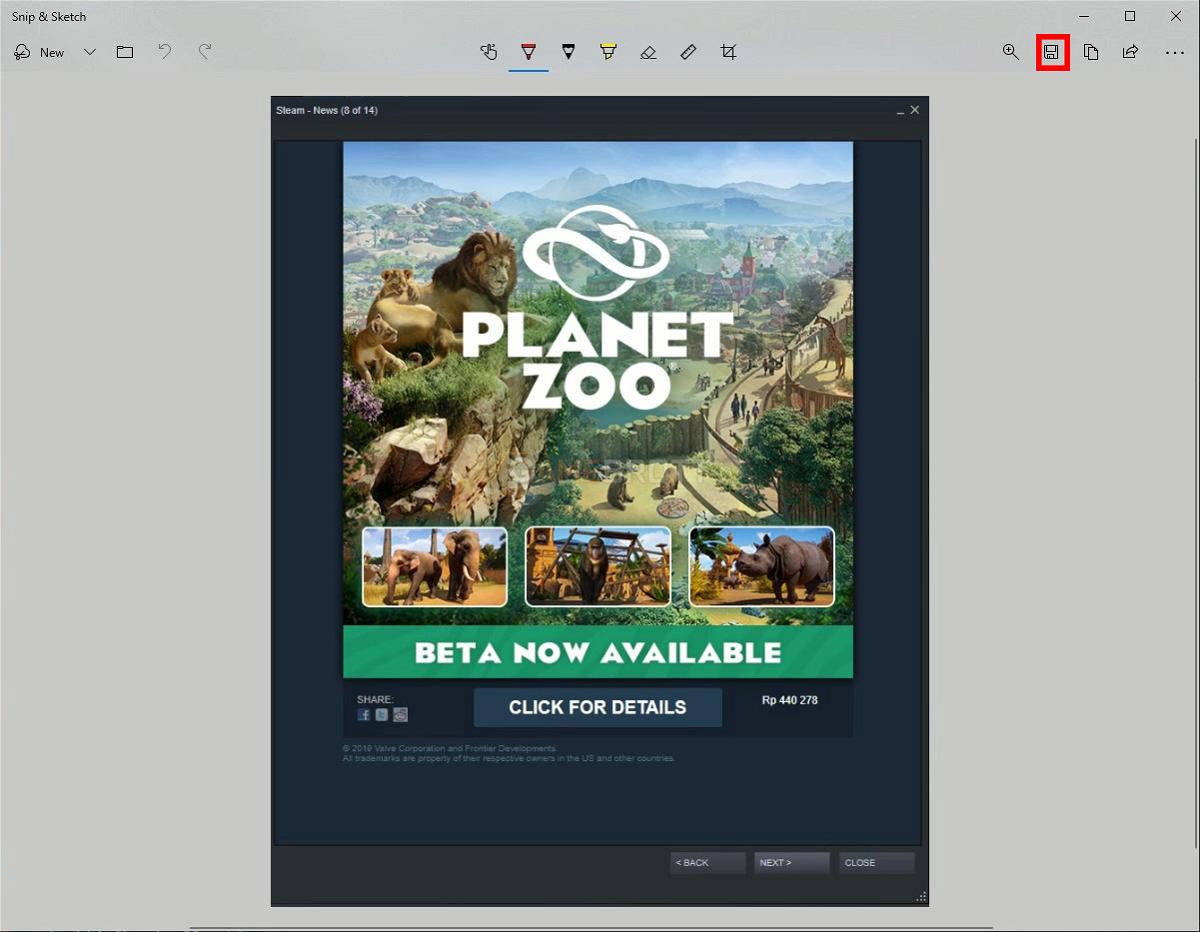
A notification will appear as shown above, then click on the notification. Then a new page will appear. Click the diskette icon, then save your image in the folder you like.
Method 2 – Windows 7 and 8.1

While for those of you Windows 7 and 8.1 users, you need to use the default software called Snipping Tool. The trick is to find and open the application on the Windows icon.
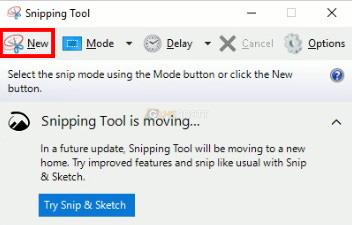
After the software is open, the next step is to click “New” and then drag the mouse pointer to the area you want to capture the screenshot as shown above.
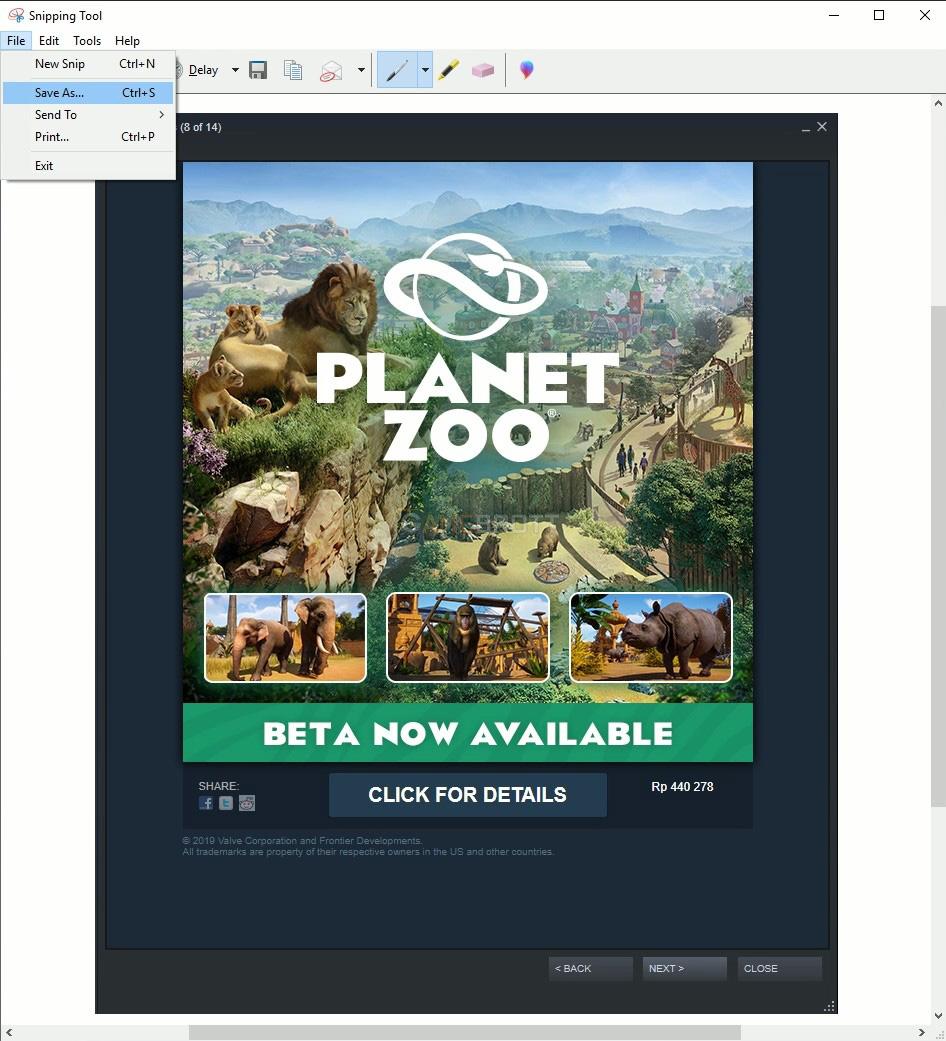
Open the file menu -> save, then you will be able to save
3. Screenshot of everything on the screen and save directly
This screenshot method is not complicated because you only need to press these two magic buttons and everything will be saved automatically. All you need to do is just press the Windows key + Print Screen, then you will be able to save the screenshot file automatically.
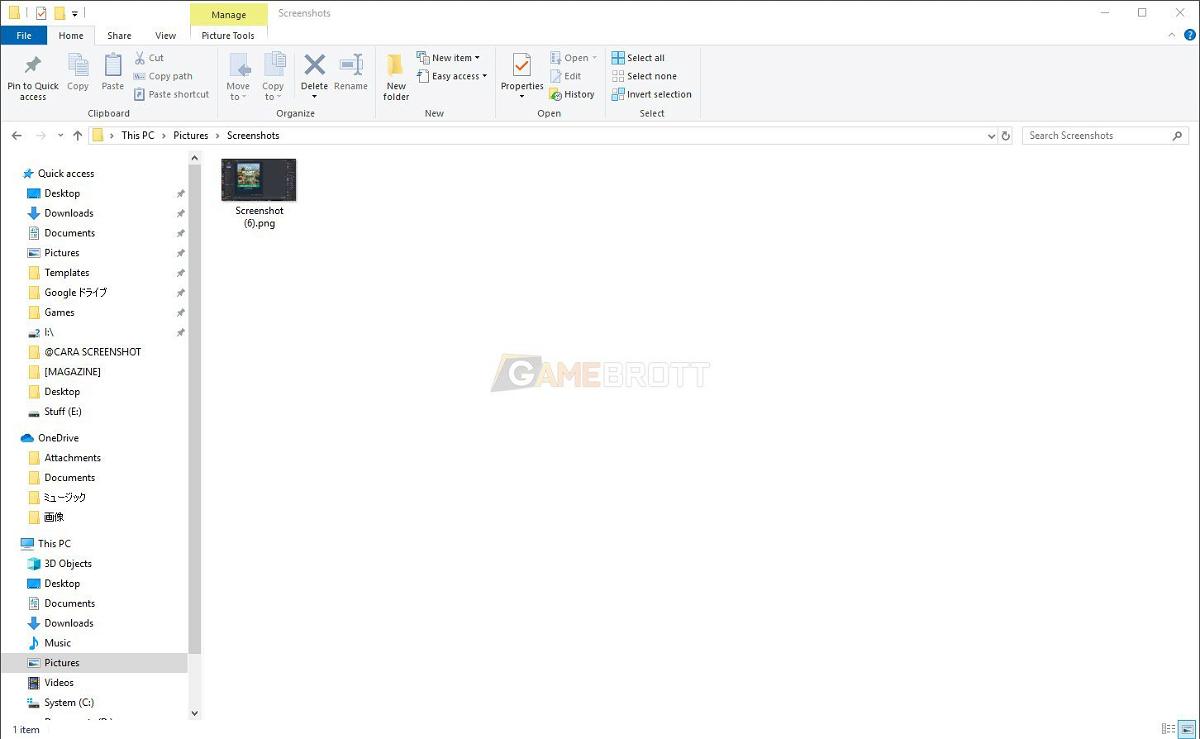
The screenshot will be able to be opened via the Pictures folder which is exactly the same as in the picture. Or if you are confused looking for it, you can simply look for the DocumentPicturesScreenshots folder. Because I put it on the D drive when installing Windows, usually the default settings will be placed in the C:userdocumentpicturesScreenshots folder.
2. Use Additional Apps
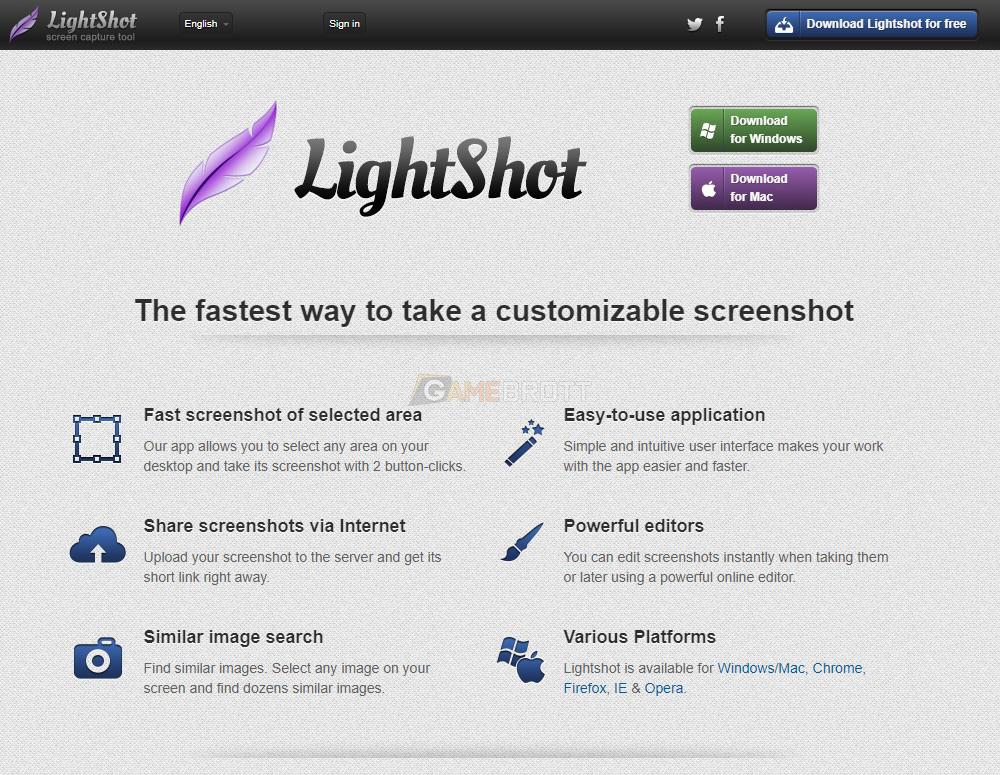
If you don’t want to be complicated, then the last way to take a screenshot is to use an additional application. One of them that I think is the most practical is Lightshot. The method is quite simple. You only need to download the screenshot-taking application on the official website, install it, then run the application.
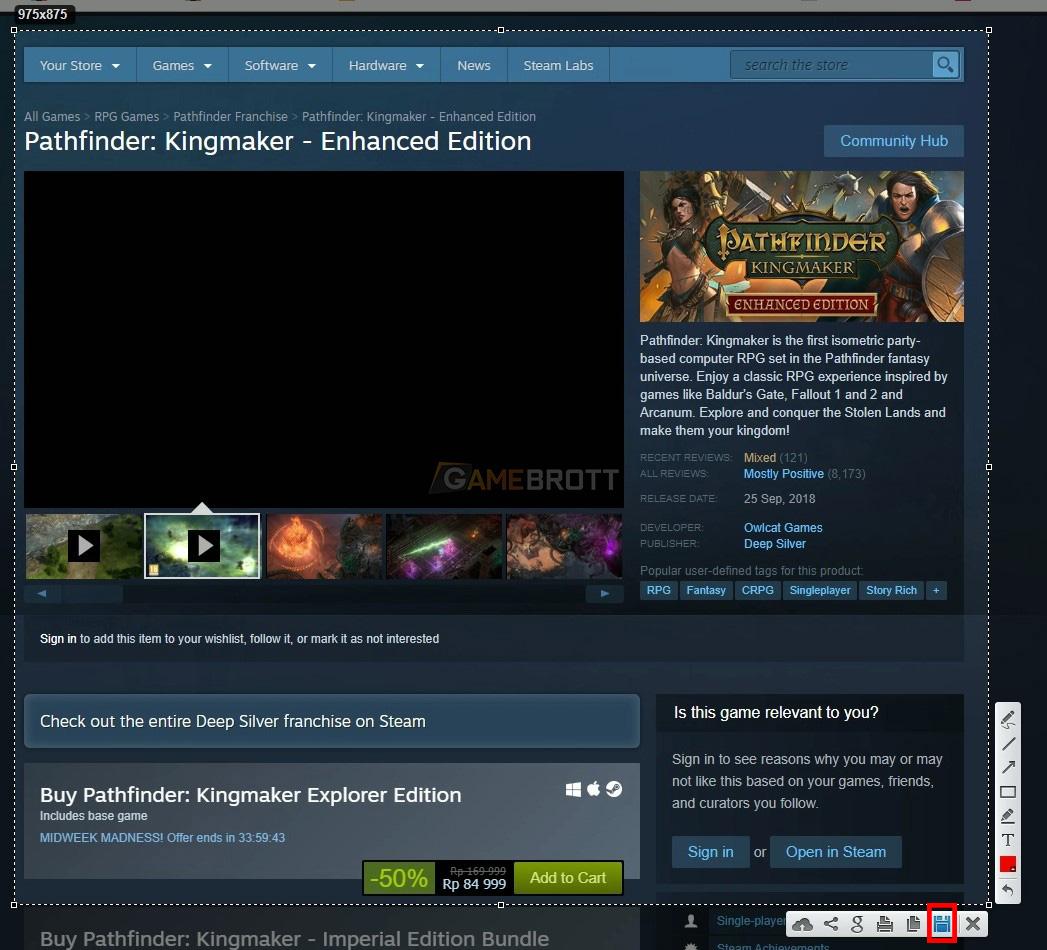
Meanwhile, to take a screenshot, all you need to do is press the Print Screen button, then your screen will become a little darker. The next step is to select the page you want to capture the screenshot of and then click the diskette button then save the file.
1. Take Screenshots While Playing Games
The last is how to take screenshots in running games. For those of you who have difficulty taking screenshots in games, then you only need to use the default application where you play games such as Steam or Uplay, or the default from your respective GPU drivers.
Steam

For Steam games, you only need to press the default key, namely F12 when playing the game. Then the screenshot will be saved automatically.
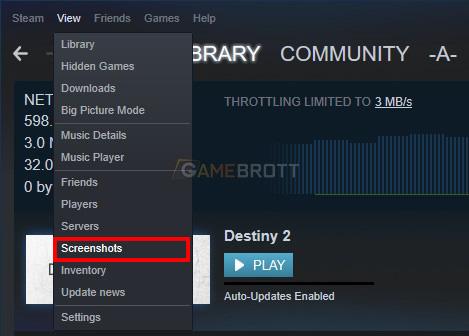
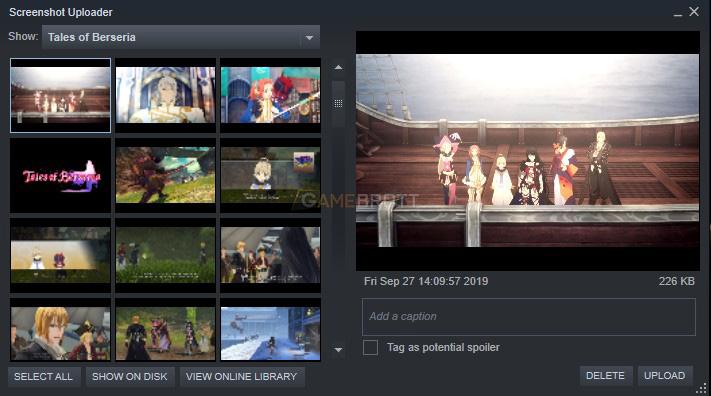
Meanwhile, to upload the image via social media, then you only need to open the view menu from Steam, then select Screenshots, then you will see a display like the one above. To upload it to Facebook, you just need to click the menu Show On Disk, then you will be taken to the folder where you saved your screenshot.
UPlay
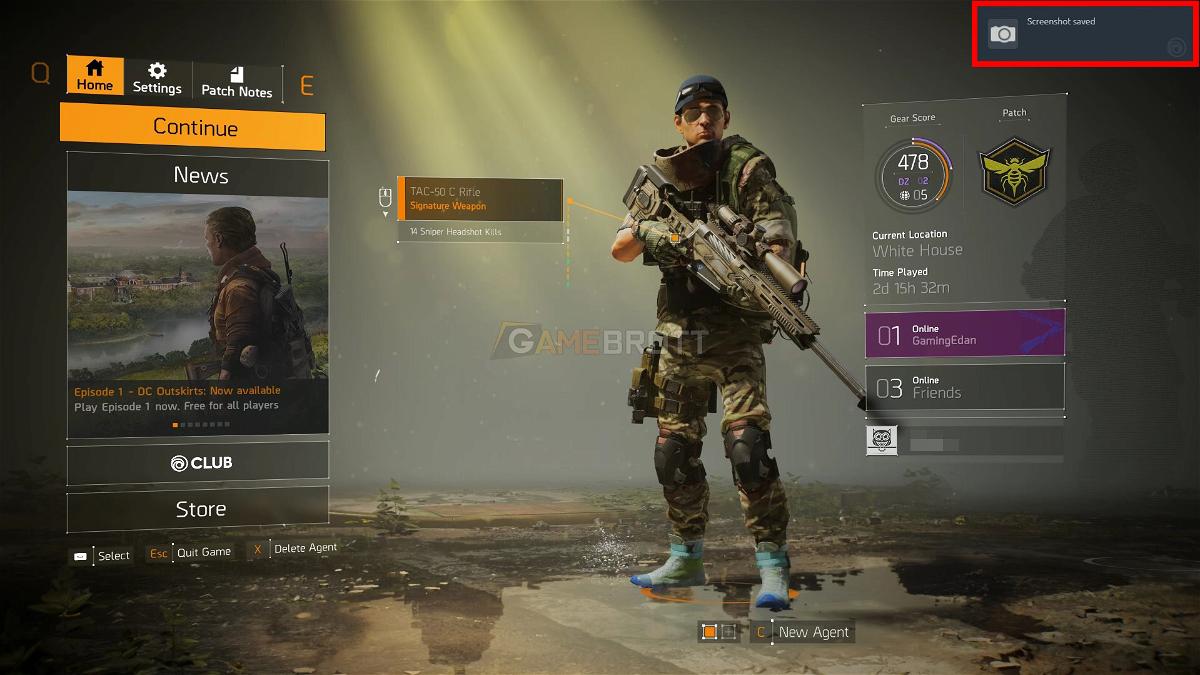
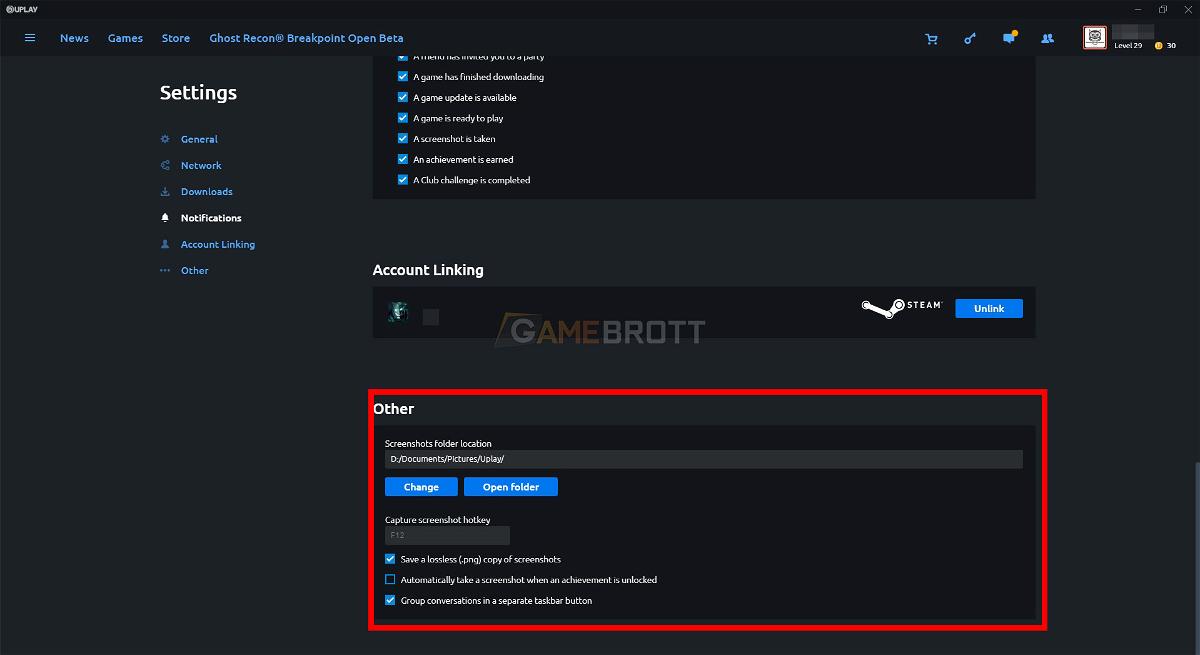
Meanwhile, Uplay has the same shortcut as Steam, namely F12. The method is the same, but to see the screenshot, you need to open the settings and look for information where the screenshot file is stored. You can replace it at will.
AMD GPU users (Minimum HD 7700 and above)
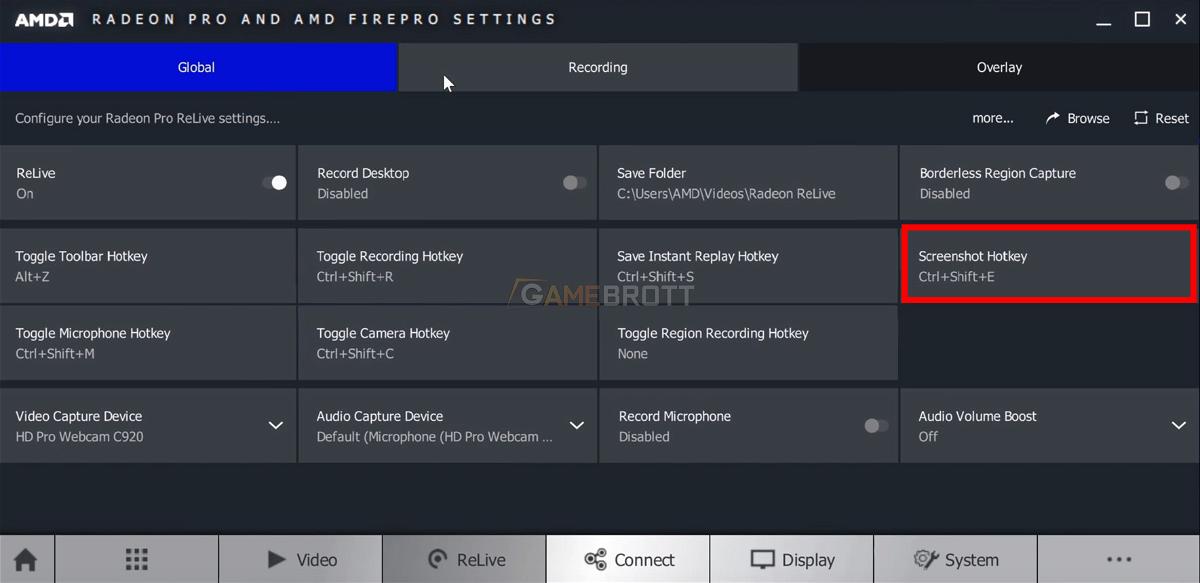
AMD users will be able to use AMD’s default driver software, ReLive. However, since I don’t use AMD and the explanation on the internet is only about video recording, I can only explain that screenshots can be taken by pressing Ctrl + Shift + E as the default key.
NVIDIA GPU Users (Minimum GTX 600 Series and Some 600M Series)
For those of you NVIDIA users, then you only need to use the default driver application, namely GeForce Experience with Shadowplay. Where you will be able to take screenshots using Alt+F1 keys as default keys.
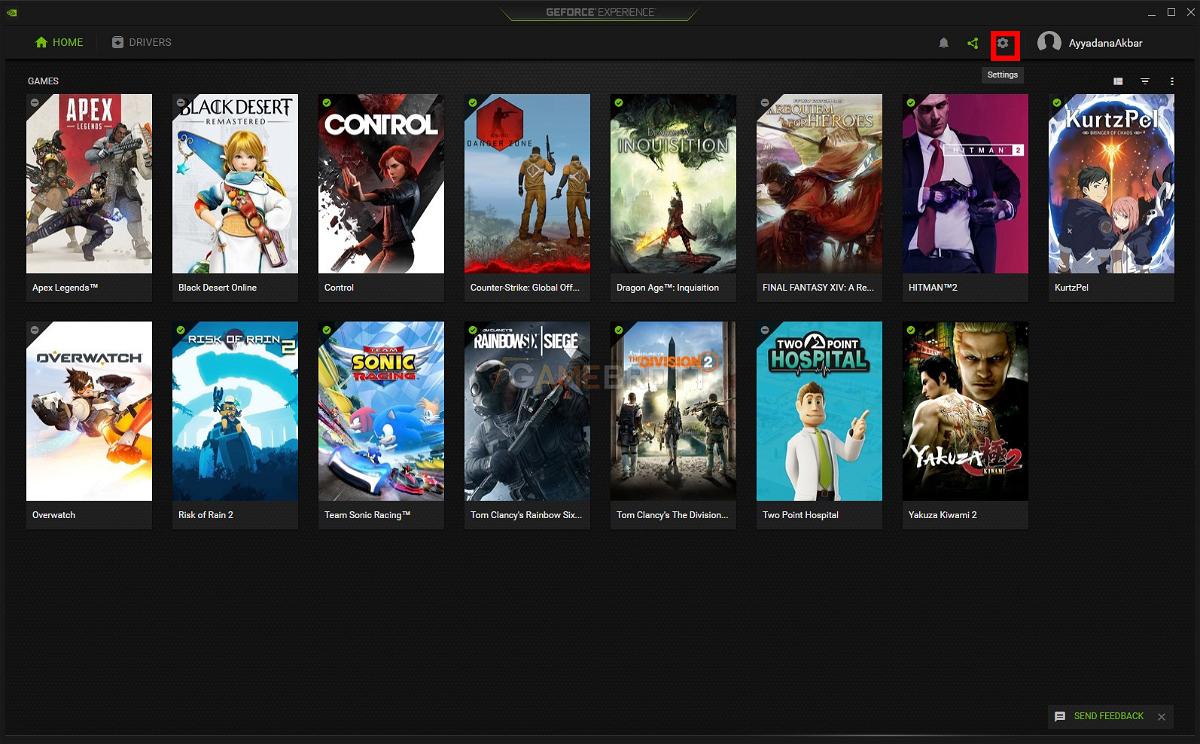
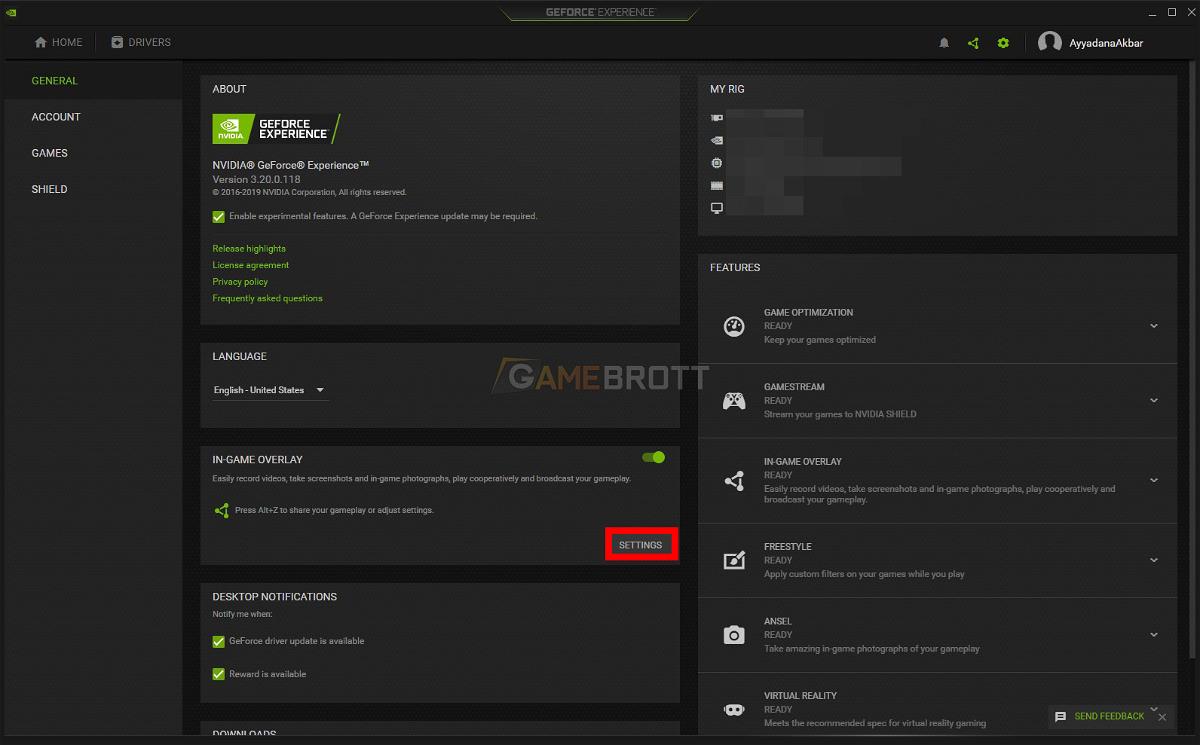
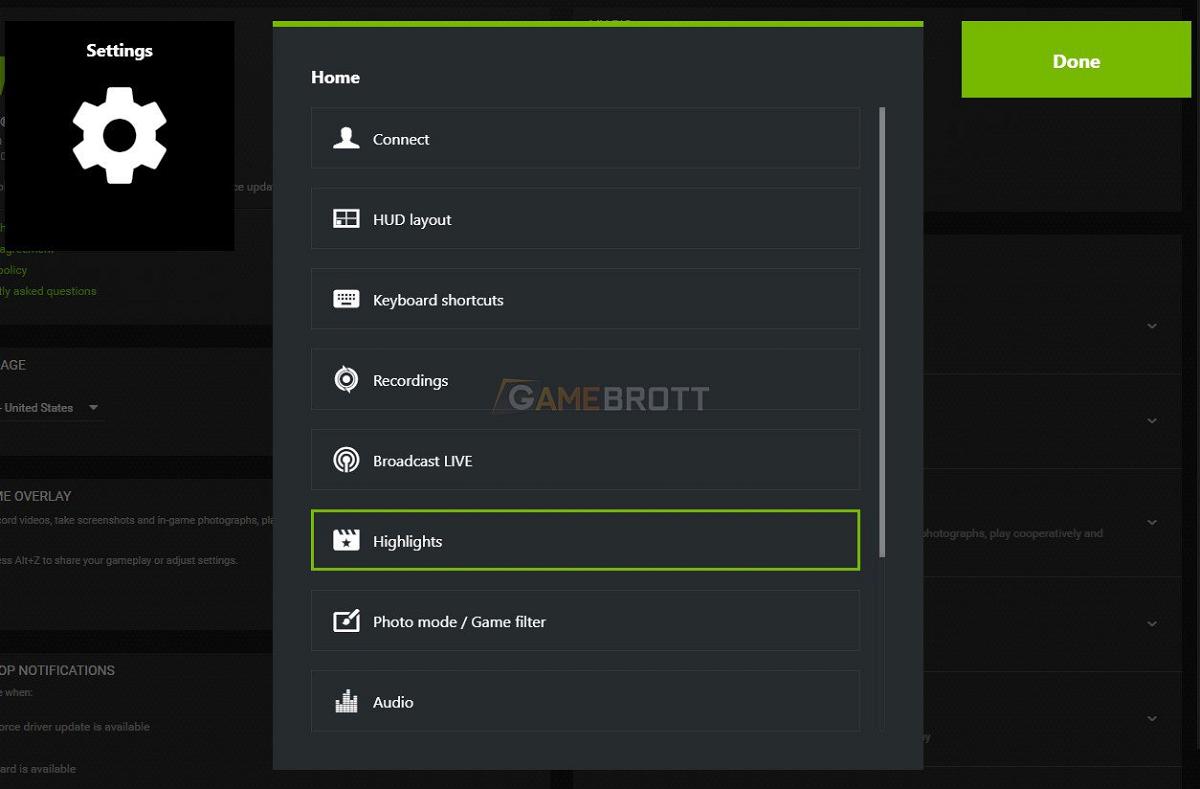
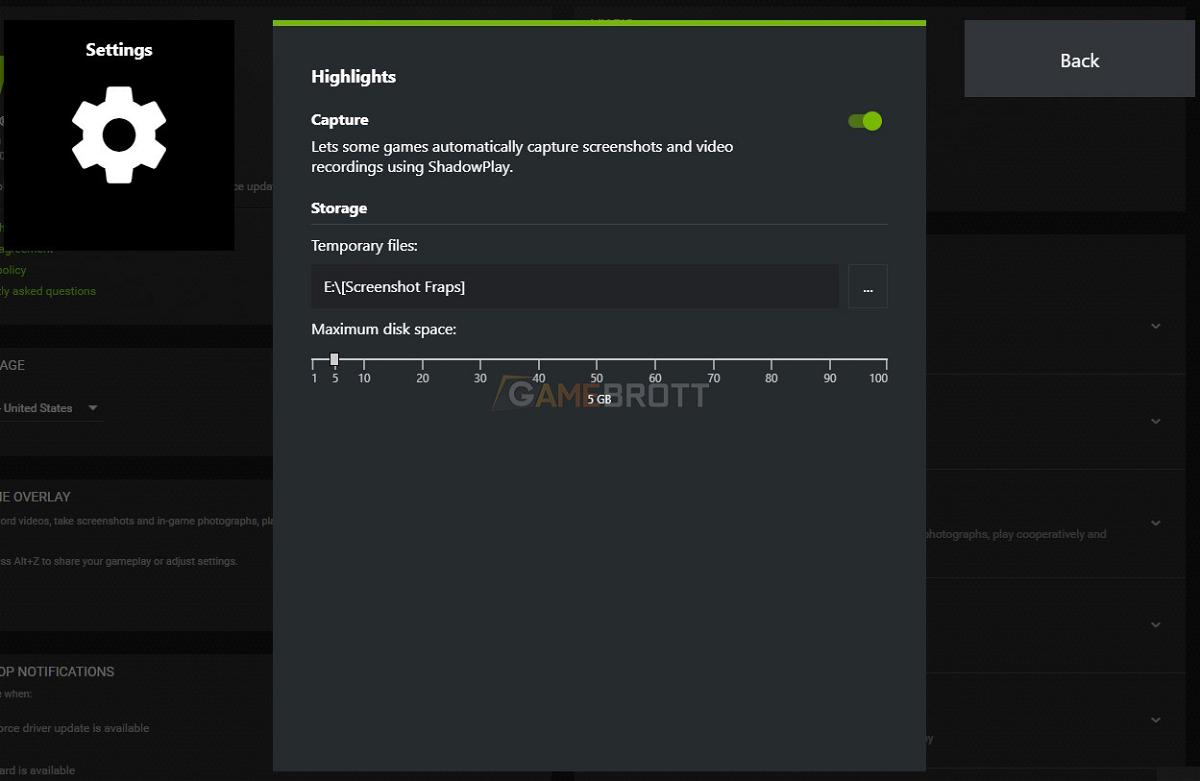
While the storage location will be determined in the gear menu -> Settings -> Highlights. You can change the storage location for screenshots and videos in the same folder. You don’t have to worry that it will get mixed up, because NVIDIA will automatically share it in their respective game folders.
That’s how to take easy screenshots on your PC and laptop both when viewing the desktop and playing games. Do you have another method that I missed? Maybe you can add it in the comments when this article is shared on our social media. Meanwhile, for those of you who want to read similar articles, you can visit the G|List page.
Post a Comment for "6 Easy Screenshot Ways on PC/Laptop When on Desktop and Playing Games"