How to Easily Install the Latest .NET Framework on Windows
Have you ever experienced an annoying thing like this?
We are now officially on the platform Tiktok! Follow our Tiktok account at @gamebrott.com to find various information and our other interesting video content.
- download gigabyte games,
even for days - Please be anxious waiting for the install
hope it’s not corrupt - When the game is launched, an error appears, need NET Framework new version -,-
What is it? NET Framework that? and why some games or apps need NET Framework?
Simply put, the NET Framework is a “base” that contains commands to execute a program, including games and apps. So, don’t be surprised if a PC without the NET Framework can’t run the app. It’s like humans without language, so they can’t speak.
So, instead of worrying about the NET Framework and then playing games, it’s better to take a look at the simple steps on how to install the NET Framework below.
1. Go to the NET Framework Download Page
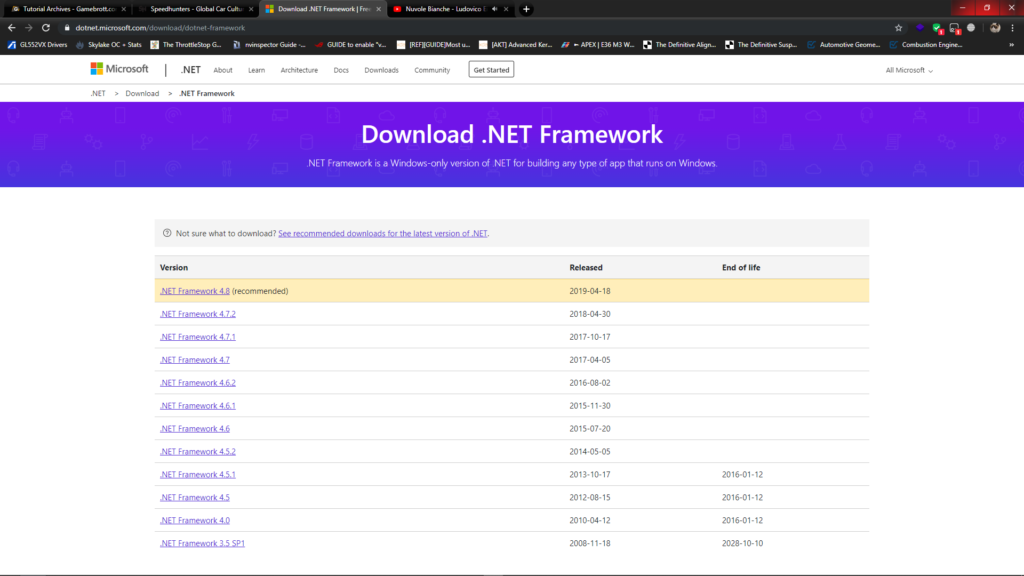
The first thing you definitely have to do is open the NET Framework download page on the Microsoft website. Then click the most recent version (i.e. version 4.8 when this article was written)
2. Select the Installer Type (Online/Offline)
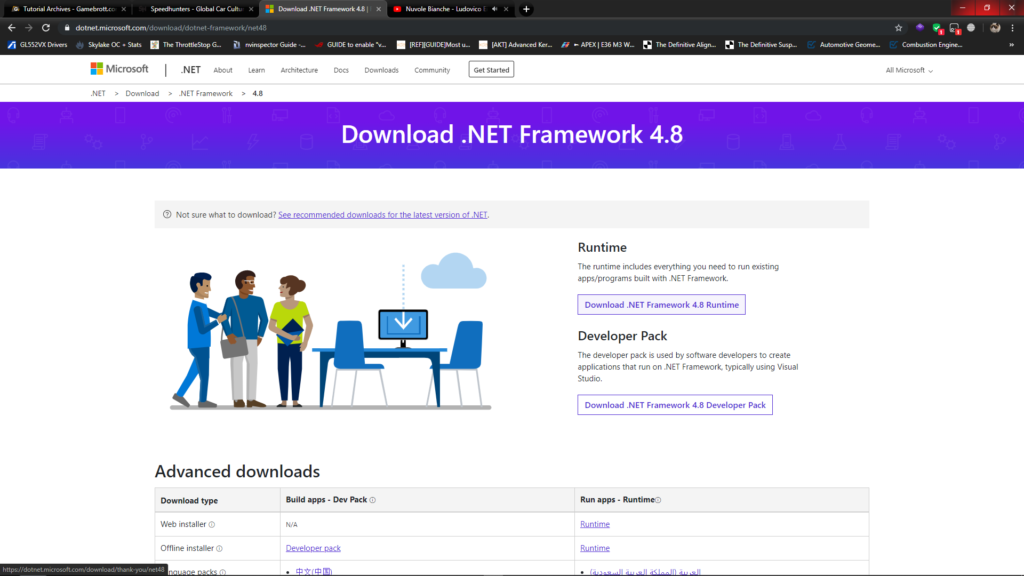
After clicking the link for the framework version, a page will appear where you can choose the type of NET Framework.
If you want to install the version needed to run the application, then choose the version Runtimes. Here you can also choose the online or offline installer version in the options Advanced Downloads under. We deliberately chose the version offline in this tutorial to anticipate those of you who want to install this NET on a computer that is not connected to the internet network.
Make your choice then click the link that says Runtime the top for Web/Online Installer and the bottom for Offline Installer.
3. Wait for the Download Process to Complete
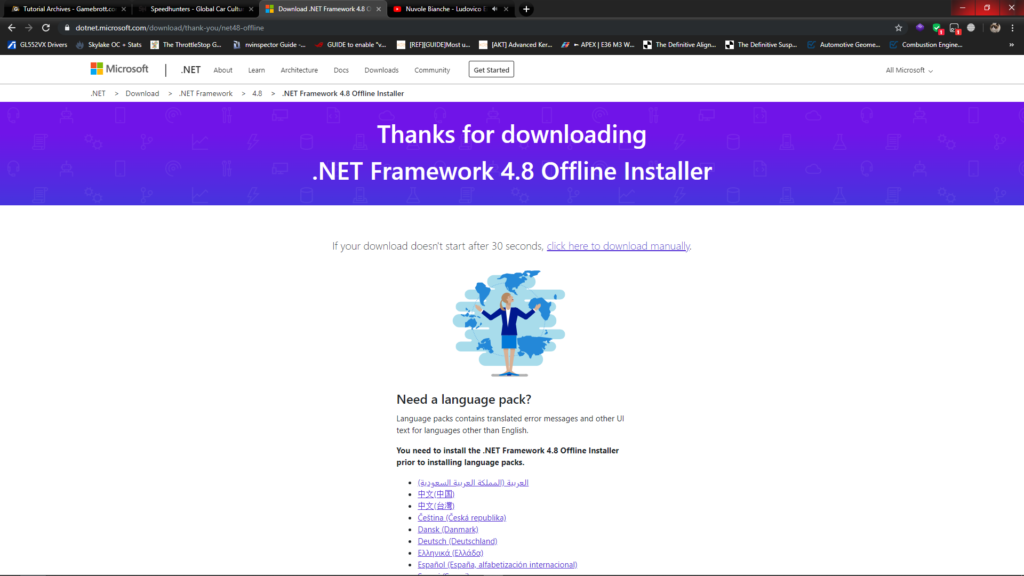
Once the link is clicked, this page will appear. Both the online and offline versions will give you an .exe file which you will use to install the .NET Framework.
The difference is, the size of the download file on line the installer is only approx. several megabytes only while version offline installer can arrive 100 MB. Even so, the online version of the installer will later download the difference in the lack of the file when the installation process is running.
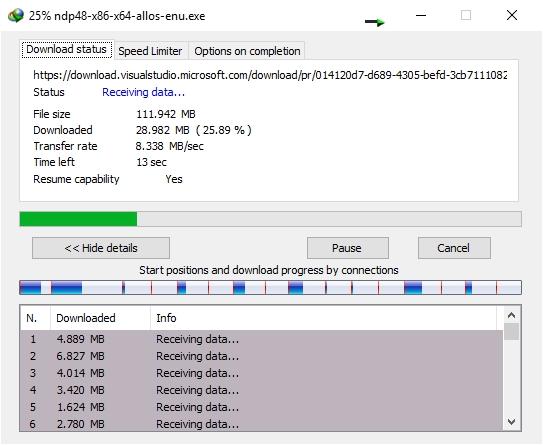
4. Open the Installer File and Perform the Install Process
The next step is quite simple, all you need to do is open the file that was downloaded earlier
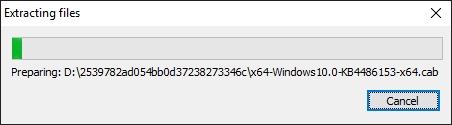
Wait for the file extract process to finish. After that a window like this will appear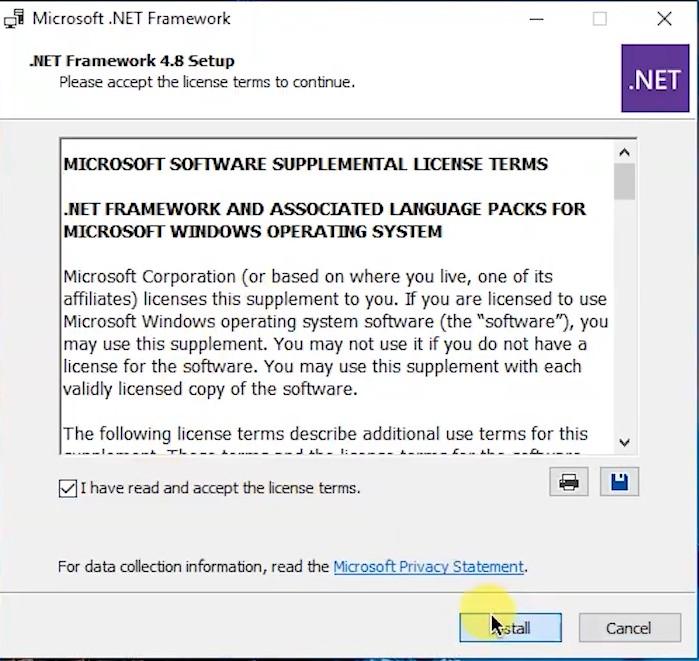
Click “I have read and accept the license terms” as usual then click “Install”
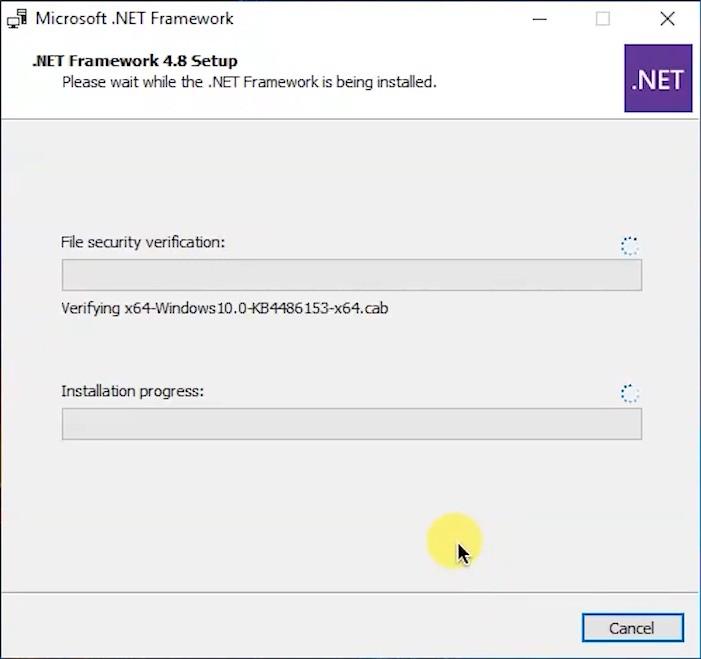
The only difference between the online and offline versions of the installer will be in the dialog box above. The progress bar at the top will show verification process file in the offline installer, while for the online version it will display download progress missing files previously mentioned earlier.
The last step is to wait for the installation process to finish
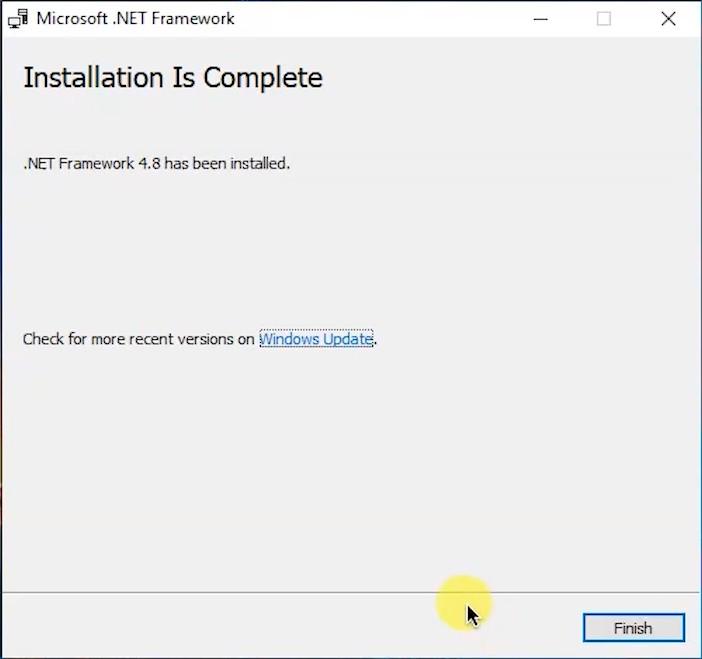
Tadaa, NET Framework version 4.8 successfully installed on your PC!
Soo, that’s how to install NET Framework on your PC, very simple isn’t it? Hopefully, your problem with apps that can’t run because of this framework can be solved…
Post a Comment for "How to Easily Install the Latest .NET Framework on Windows"